I grew up with my mom sewing little outfits, stuffed animals, and all of my Halloween costumes for me. She always had a project going, usually for my benefit. I, however, never picked up the craft. It was probably a good idea to not let my tiny fingers near the machine. However, now that I’ve grown, I thought it would be fun to take a sewing class so that perhaps one day I could use the sewing machine I inherited from my mom.

Craft South has a variety of sewing, knitting, and other crafty classes. For my first foray into sewing, I signed up for their pajama pants making class (sample above). Fortunately, Craft South also offers sewing machine lessons for those talent-challenged folks out there like me. Otherwise, by final product would result in something like this:

I was the only person there for my sewing machine intro class so I managed to get the benefit of a private lesson. The first class got me acquainted with how to use a sewing machine, the different types of stitches and techniques, and, most importantly, how to sew in a straight line. The class also got me excited about getting to try the real thing.

Two days later I got to take my first practical sewing class. We started by selecting the right size pattern and cutting out the fabric. This part was easy enough, but when you have plaid or another patterned fabric it takes a little extra work to make sure the design lines up.
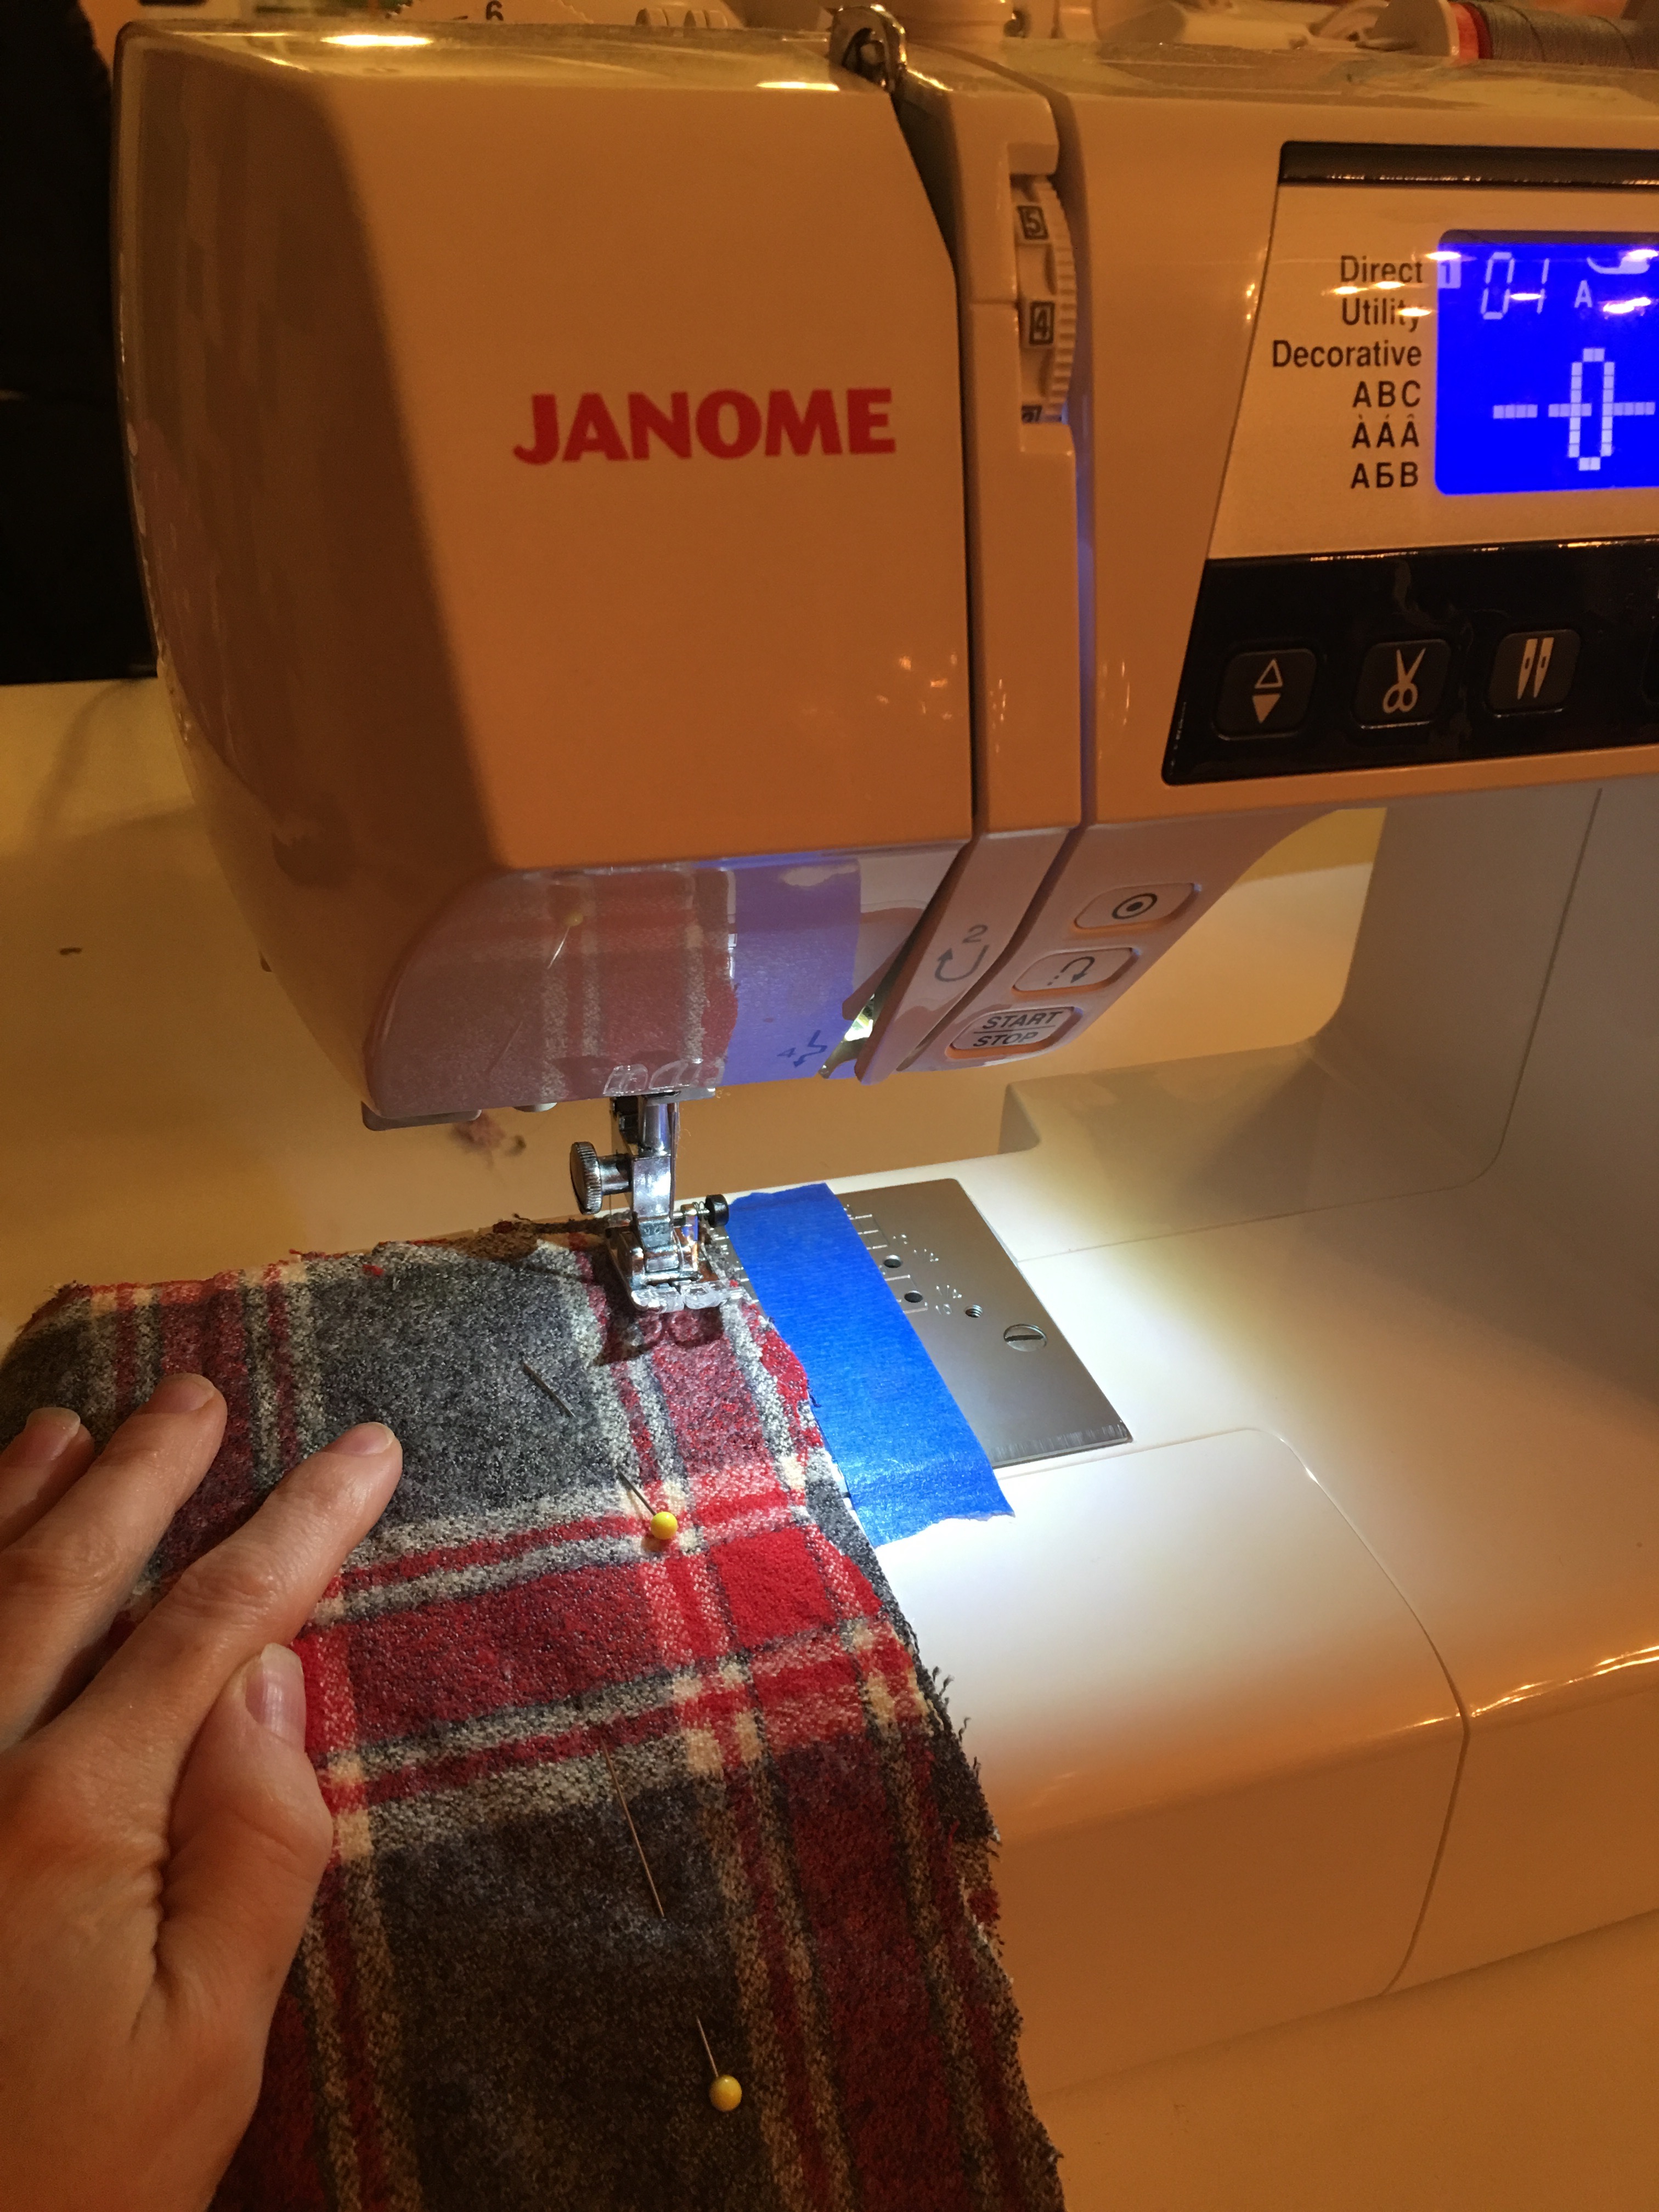
I am really glad I took the sewing intro course because after Lauren, our instructor, set up the sewing machine, I was able to just run with what I needed to do. I would have been pretty lost had it been my first time using the machine.
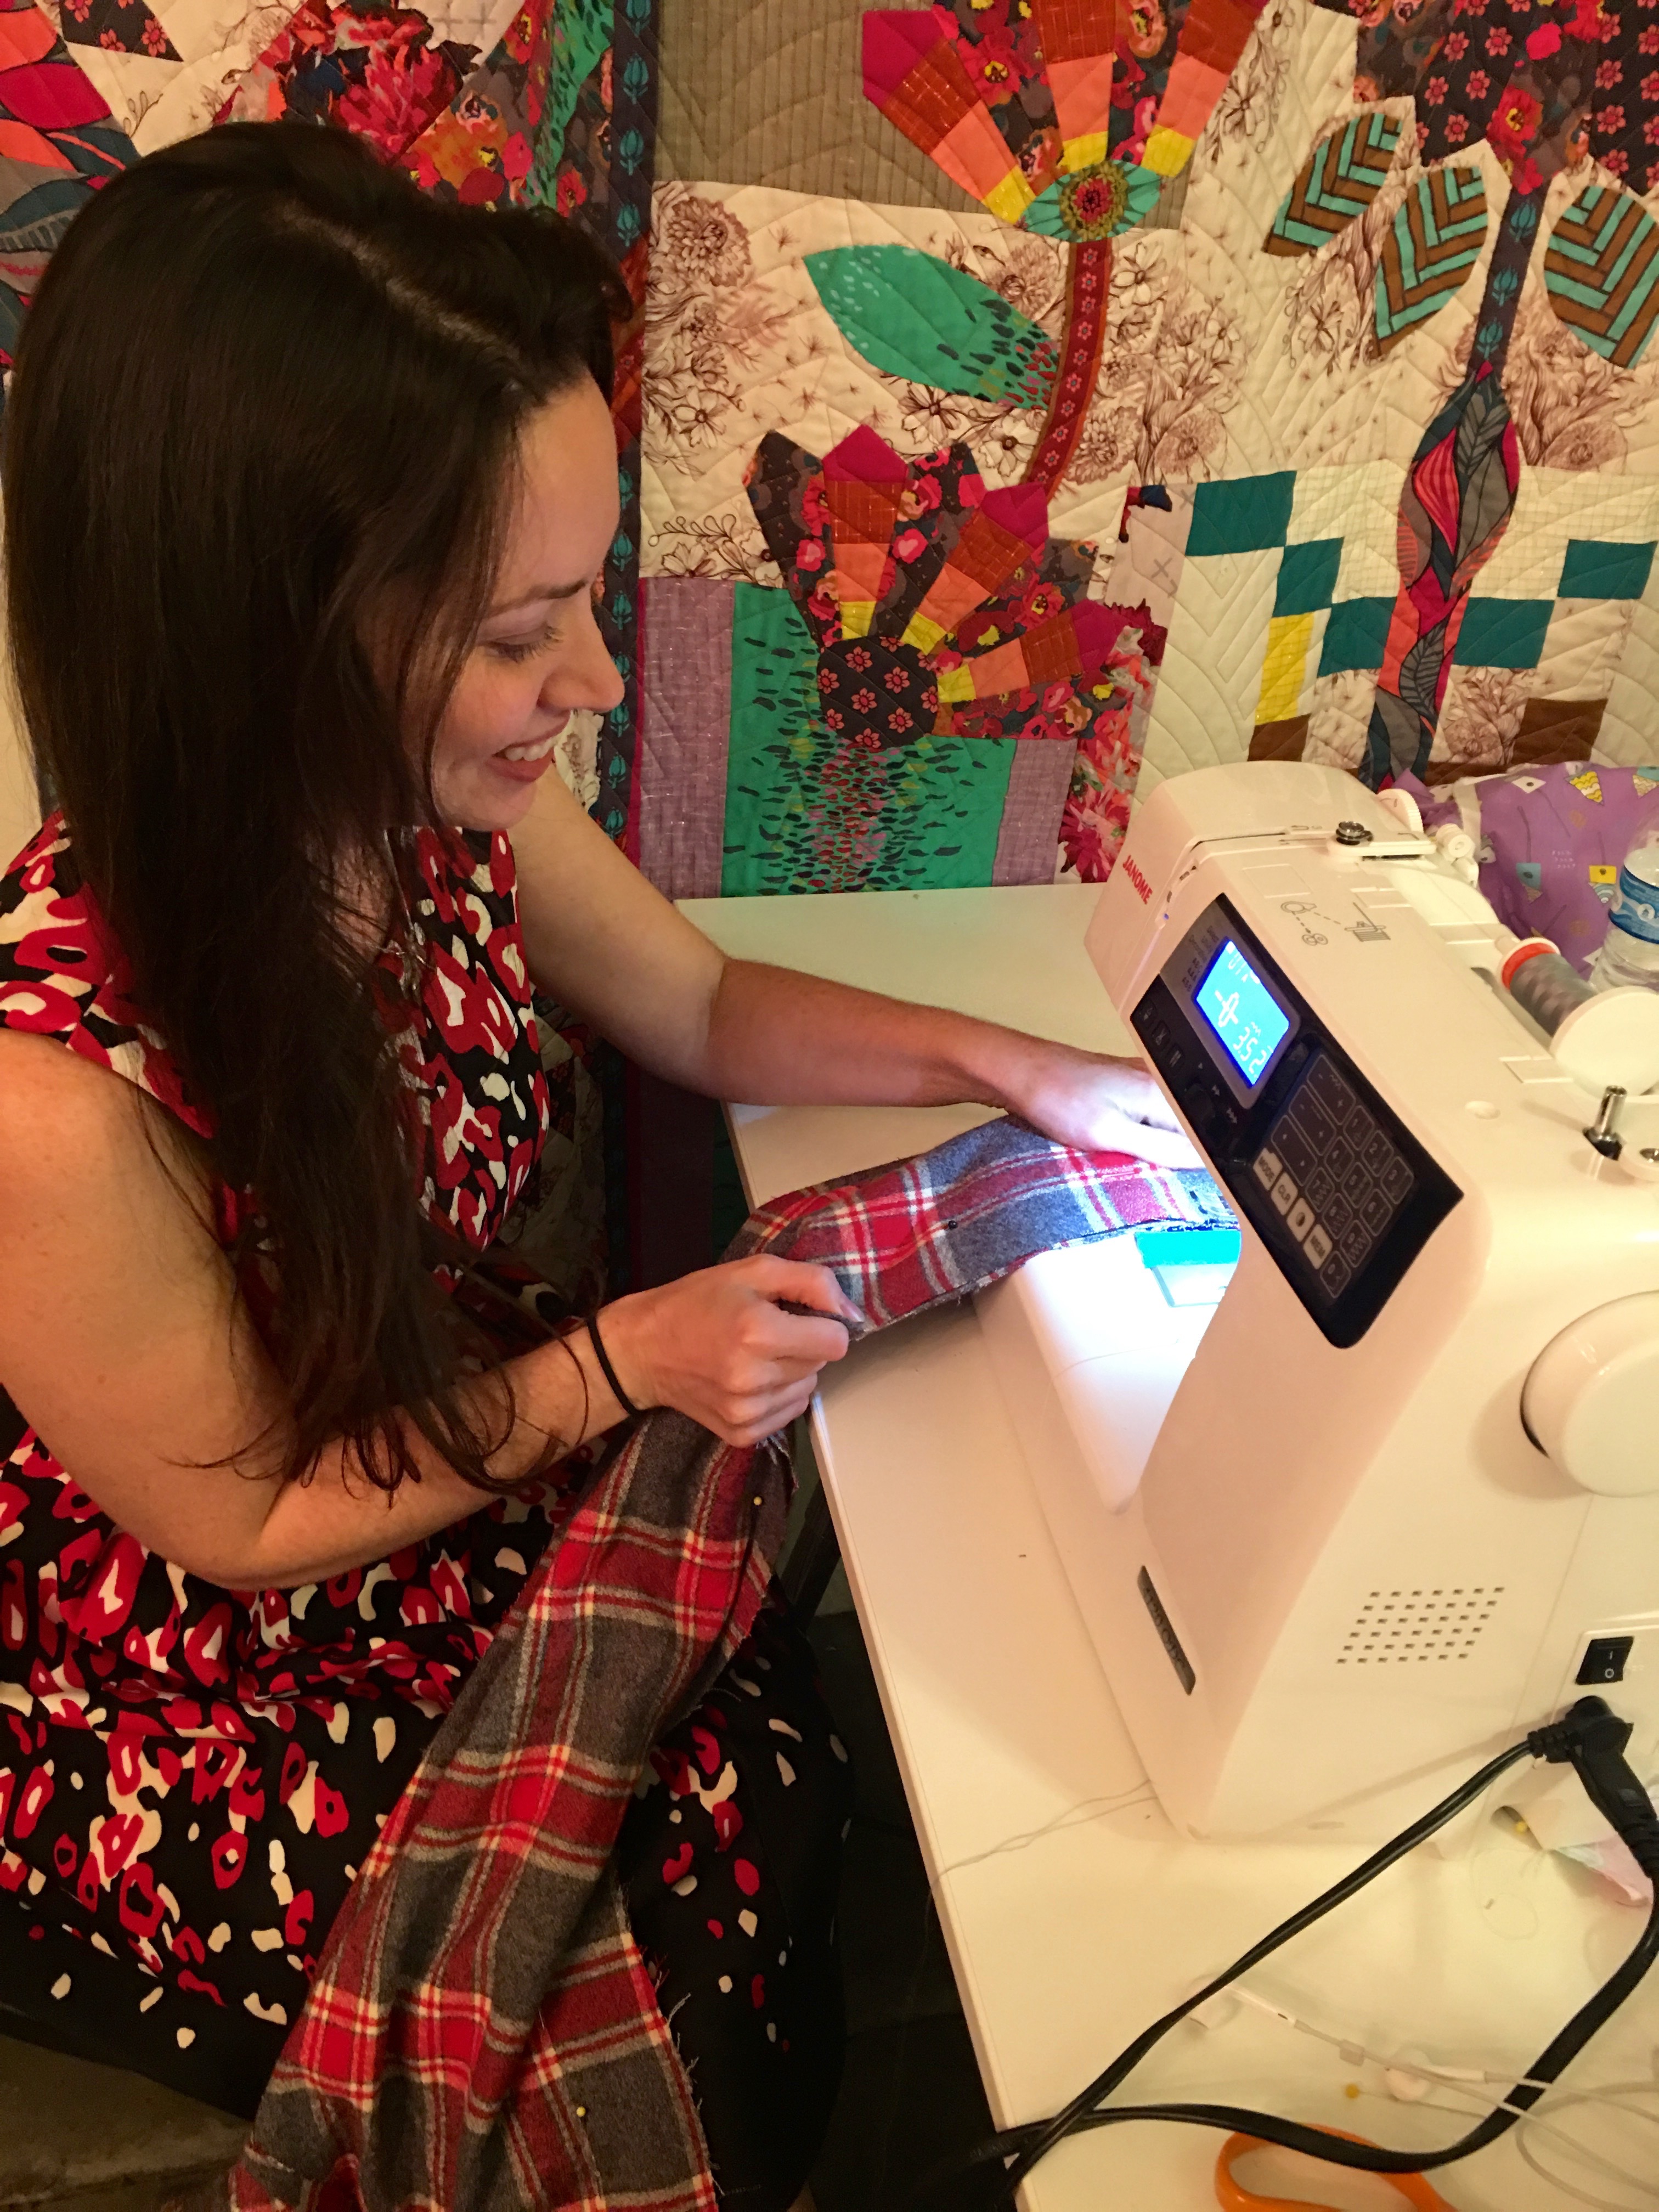
The first thing we sewed was the button holes. These look complicated, but they are created with literally just the push of a button. All you have to do is hold the fabric still. Next, we moved on to sewing the leg of the inseam on each side, which was basically just a straight line. Check. I had that under control. Then we combined the left and right sides of the pants by sewing the rest of the inseam. This was a little more complicated because the fabric curves. While I am sure this part will get easier with the more experience I get, but for now, sewing on an angle is a little tough to do smoothly. After that we sewed up the outer legs, which was the easiest part of the sewing process (more straight lines).

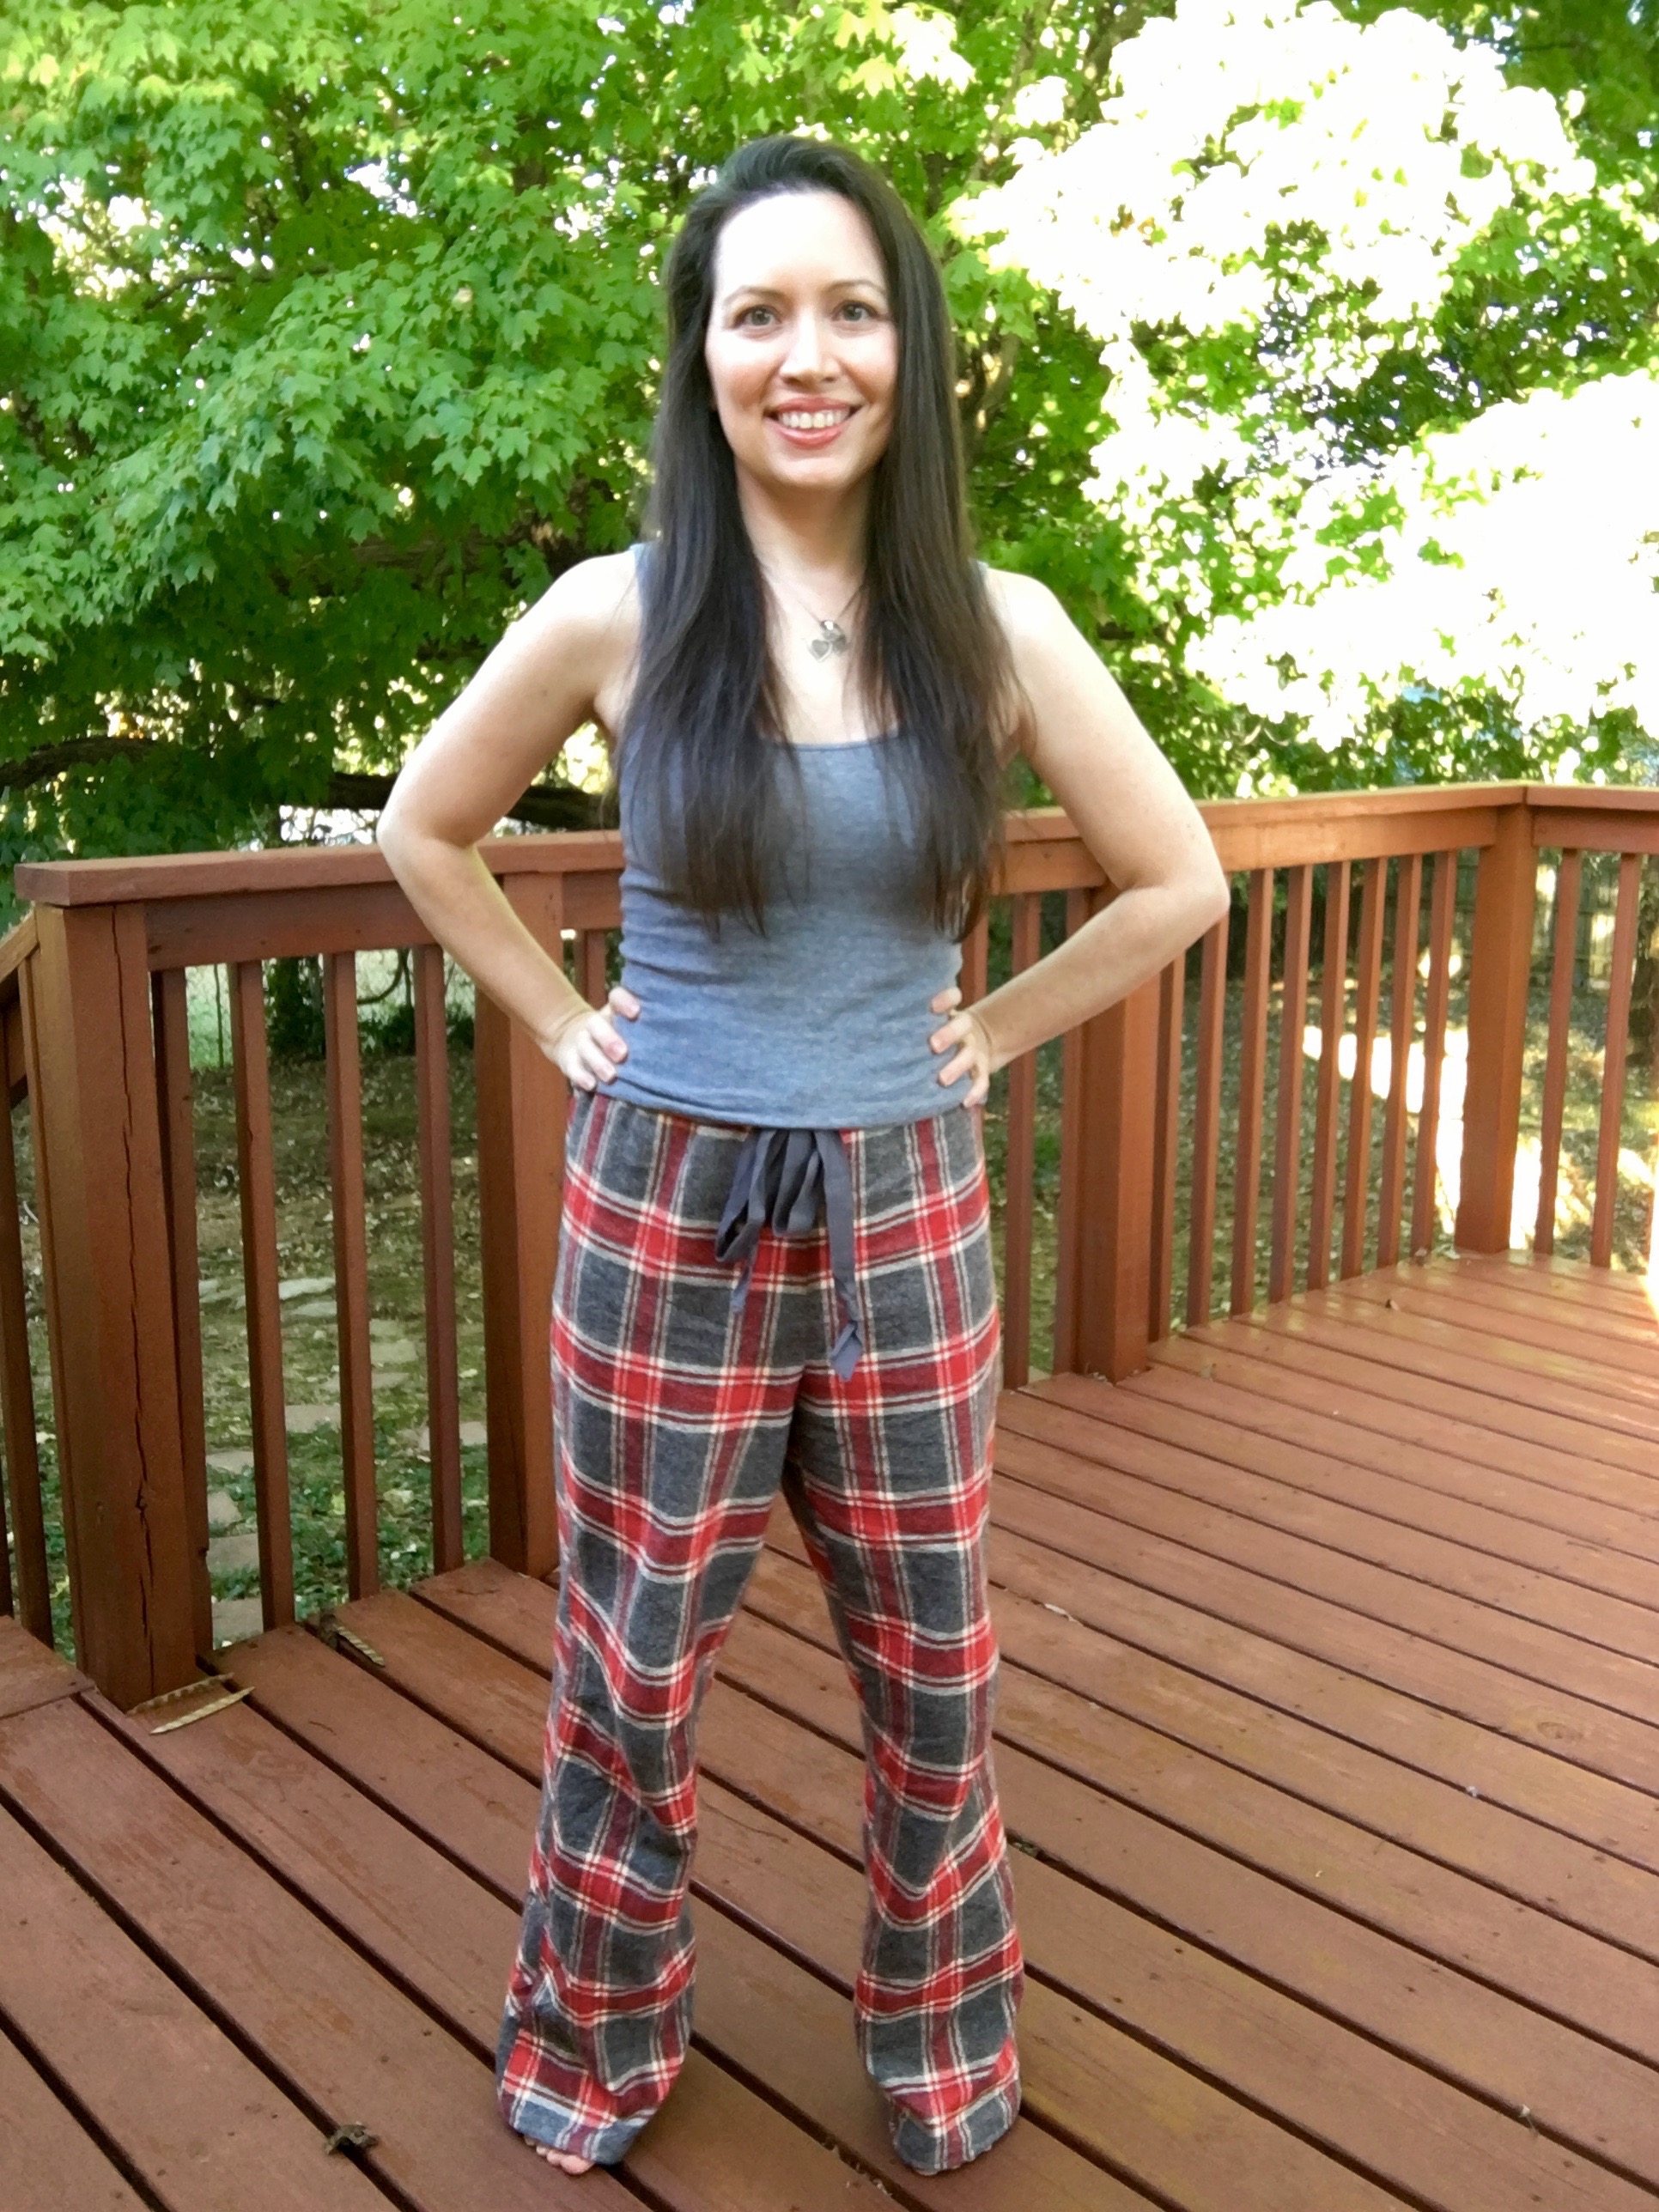
We finished up the pajamas by folding over the waist, stringing through the elastic and drawstring, and hemming the legs. Voilà! Adorable pajama bottoms!

After I finished the class I went home, slipped on my newly made PJs, and watched some baseball. Life is about balance right? I can do sewing and sports in one night. I made the pants a little bit long because the fabric will shrink when washed and because the longer pants keep my feet nice and toasty.
I absolutely loved my sewing class. While my obnoxious need to do everything perfectly was tested, the class was actually relaxing and I loved being able to have a finished product within just a few hours. I can’t wait to take another class and and eventually get to use my mother’s sewing machine for my own creations.

Great job! Sorry your mom is not there to see it but she would love knowing you are using it. I recently lost my mom so I can relate.
http://airfactsjournal.com/2016/09/let-it-be/
We are trying to decide what to do with her sewing equipment. Hopefully my sister will start sewing, too.
LikeLike
My mom would probably be gloating about me finally taking an interest in it. Ha!
I’m sorry to hear about your mom. Definitely hold on to her sewing equipment for a while. I am sure someone in the family will appreciate it.
LikeLike
I love this! Any time I try something crafty for my site, the result is more comical than practical. Glad to see yours turned out well!
LikeLike
Thanks! I was really surprised how it turned out.
LikeLike
Massive round of applause! You did a really good job with it, especially for your first sew! And you even managed to pattern match across the front seam!!!! It’s not always easy, but you managed it! I’m definitely not less than impressed!
LikeLike
Thank you! When I bought the fabric the woman tried to talk me out of plaid for my first pair. I was just really stubborn and determined to get it to match.
LikeLike